
After the first Heavy Metal Knitting competition in 2019, every single person who knows I like Knitting and Heavy Metal […]
Blog
Latest Posts
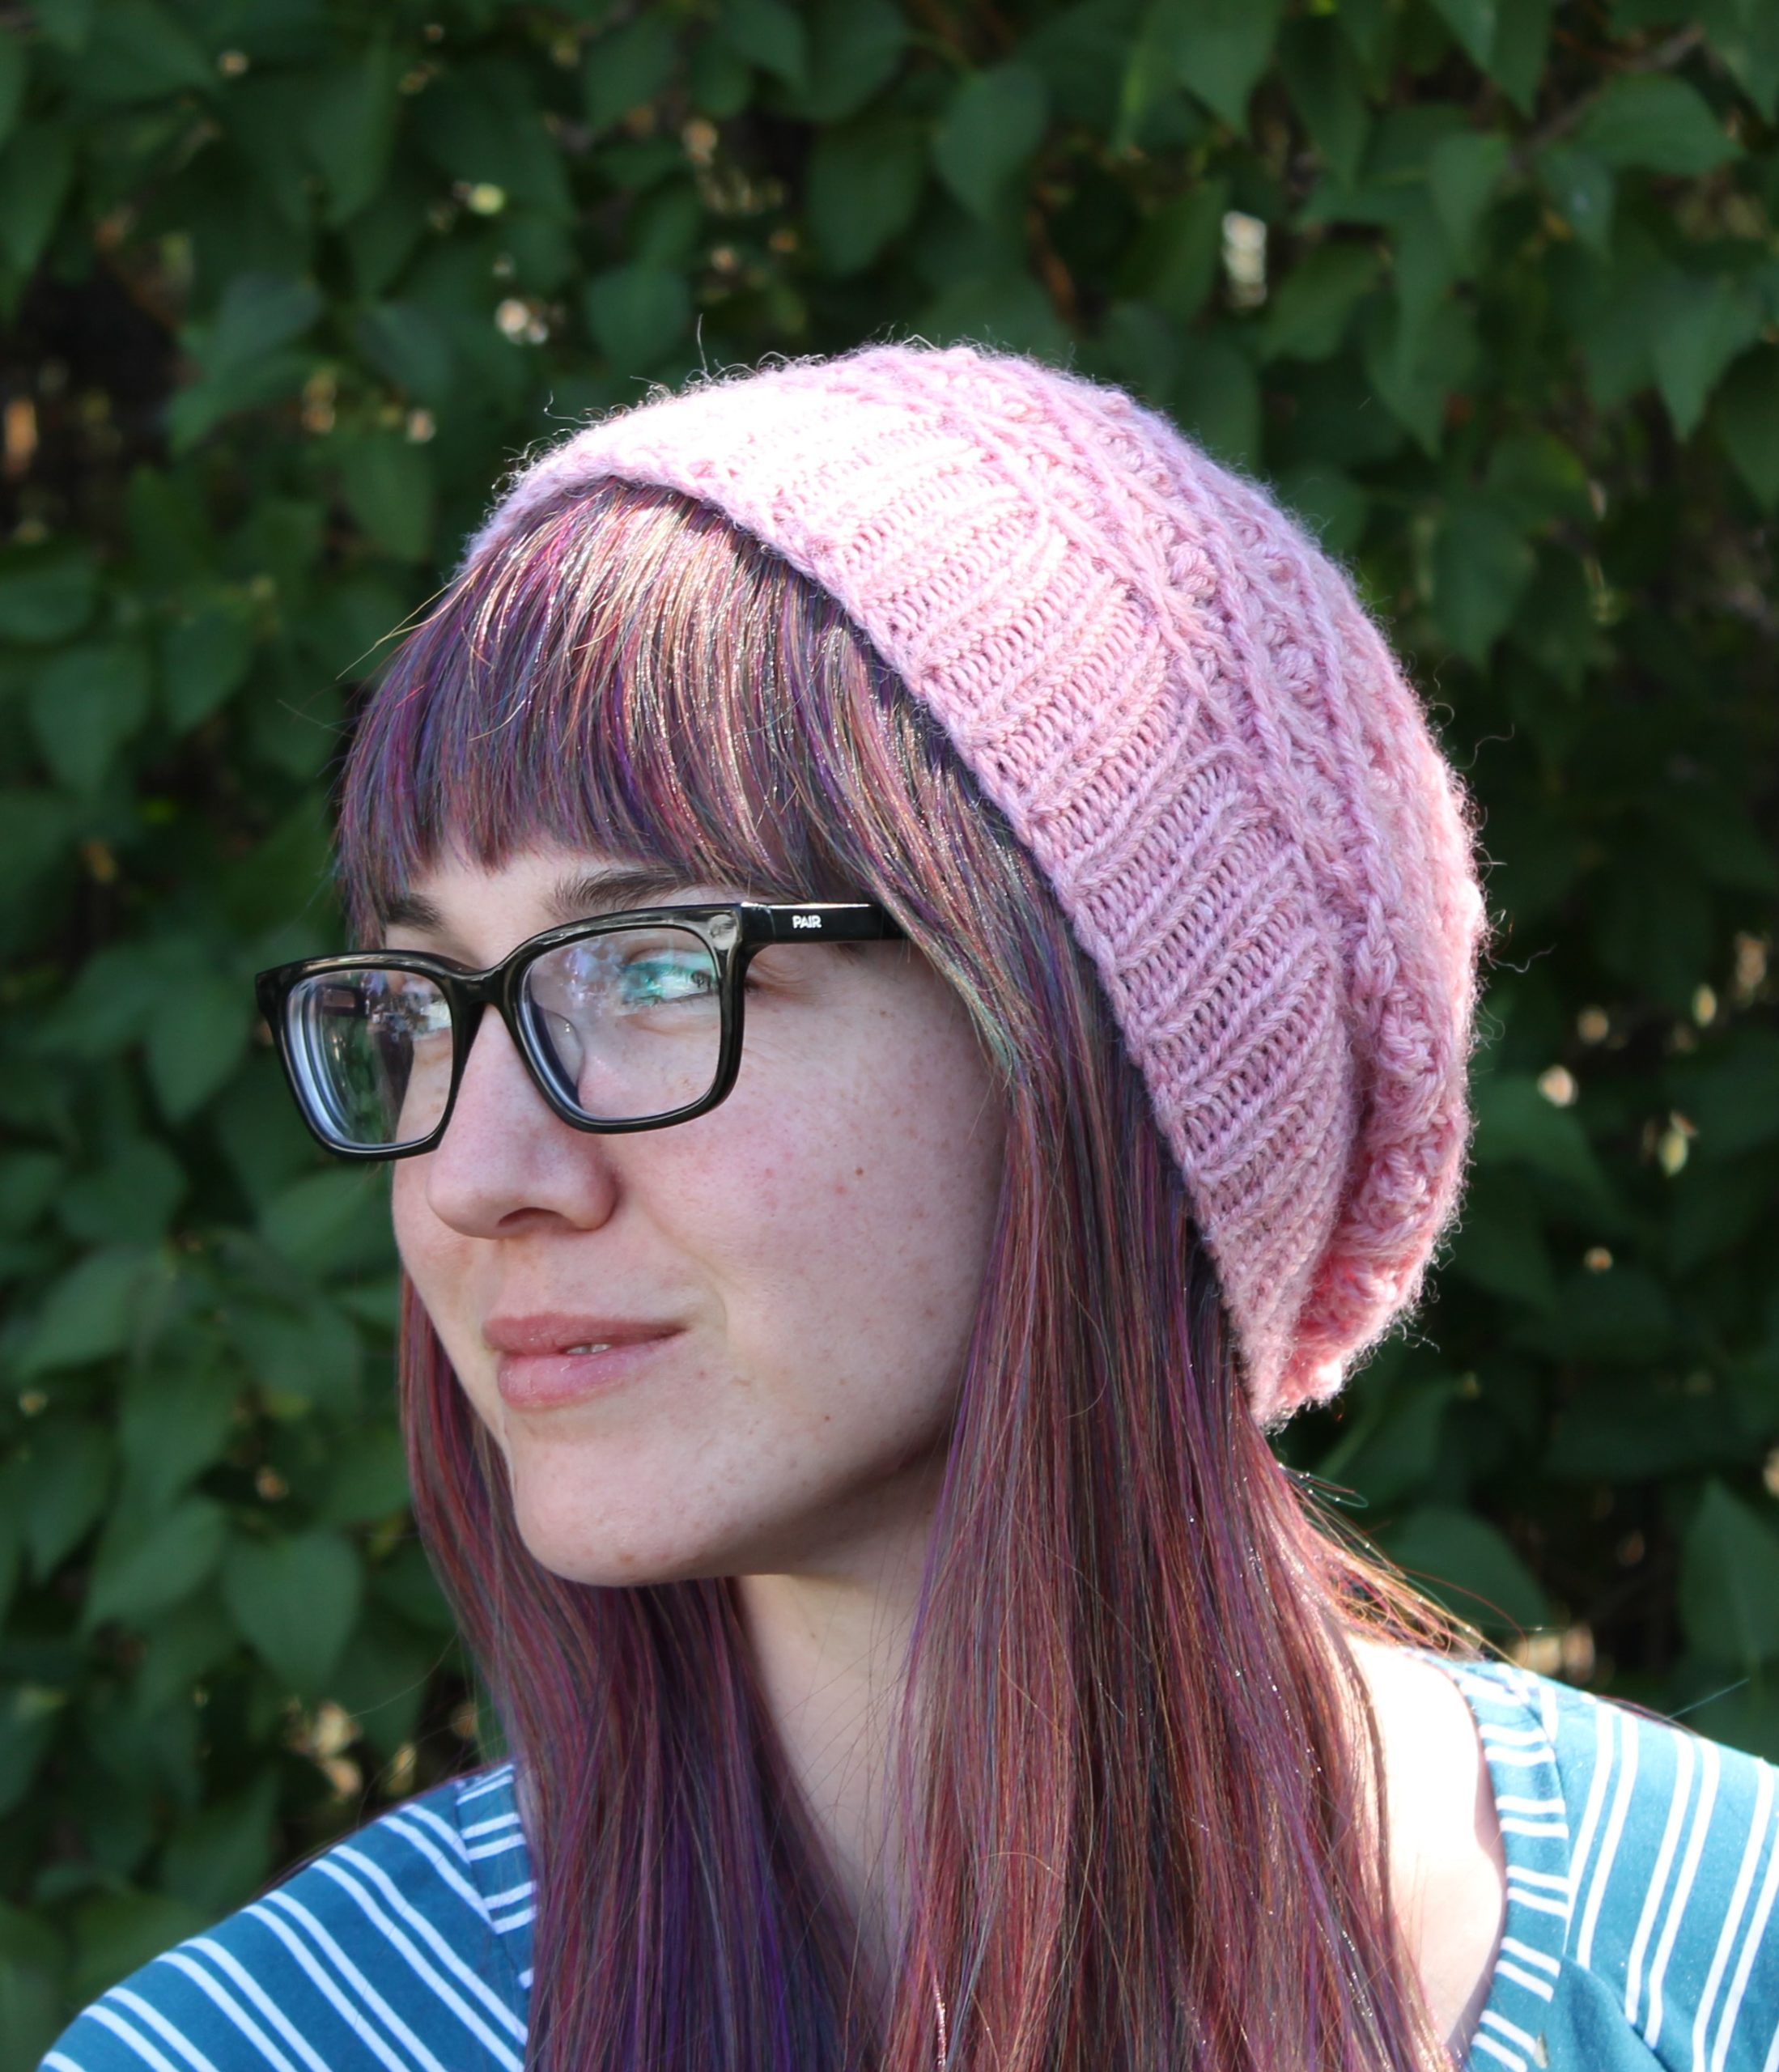
Cidertree
A stunning mix of beauty and comfort, this hat has a simple ribbed band with a lace floral motif that […]
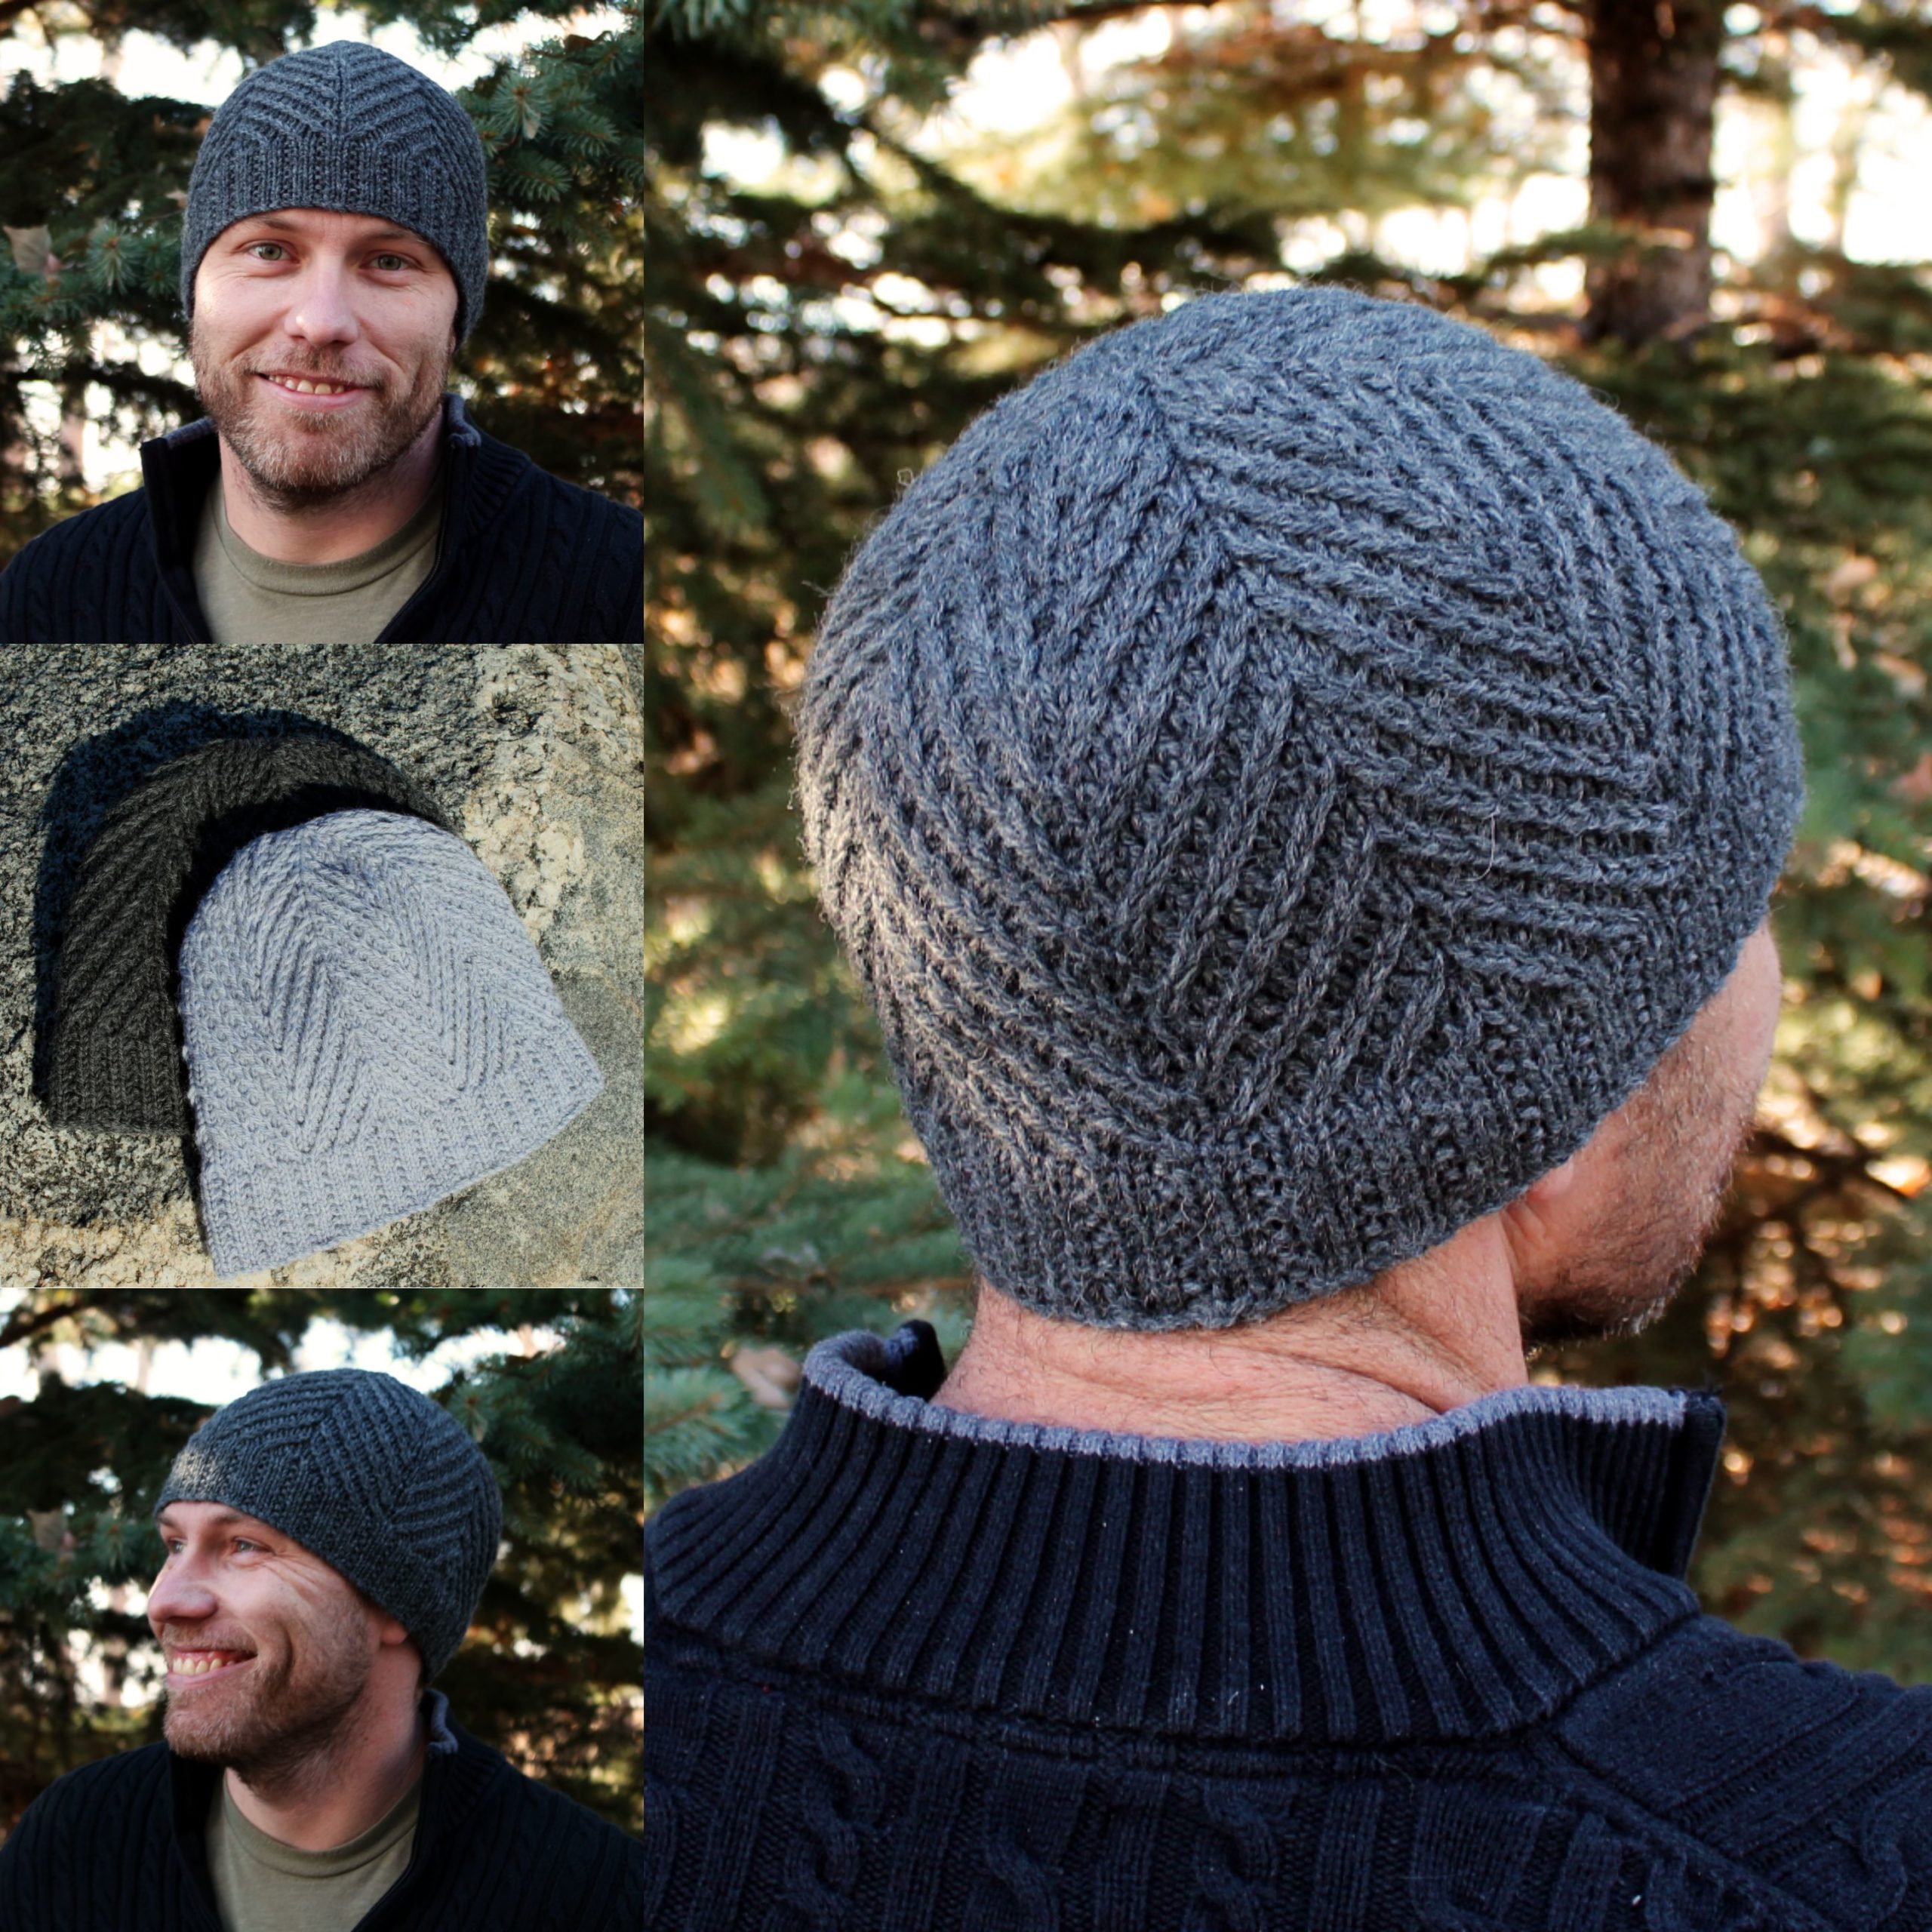
Crawford
A quick comfortable knit. Minimal purling and no cable needle required! Change the size of the finished hat by adjusting […]
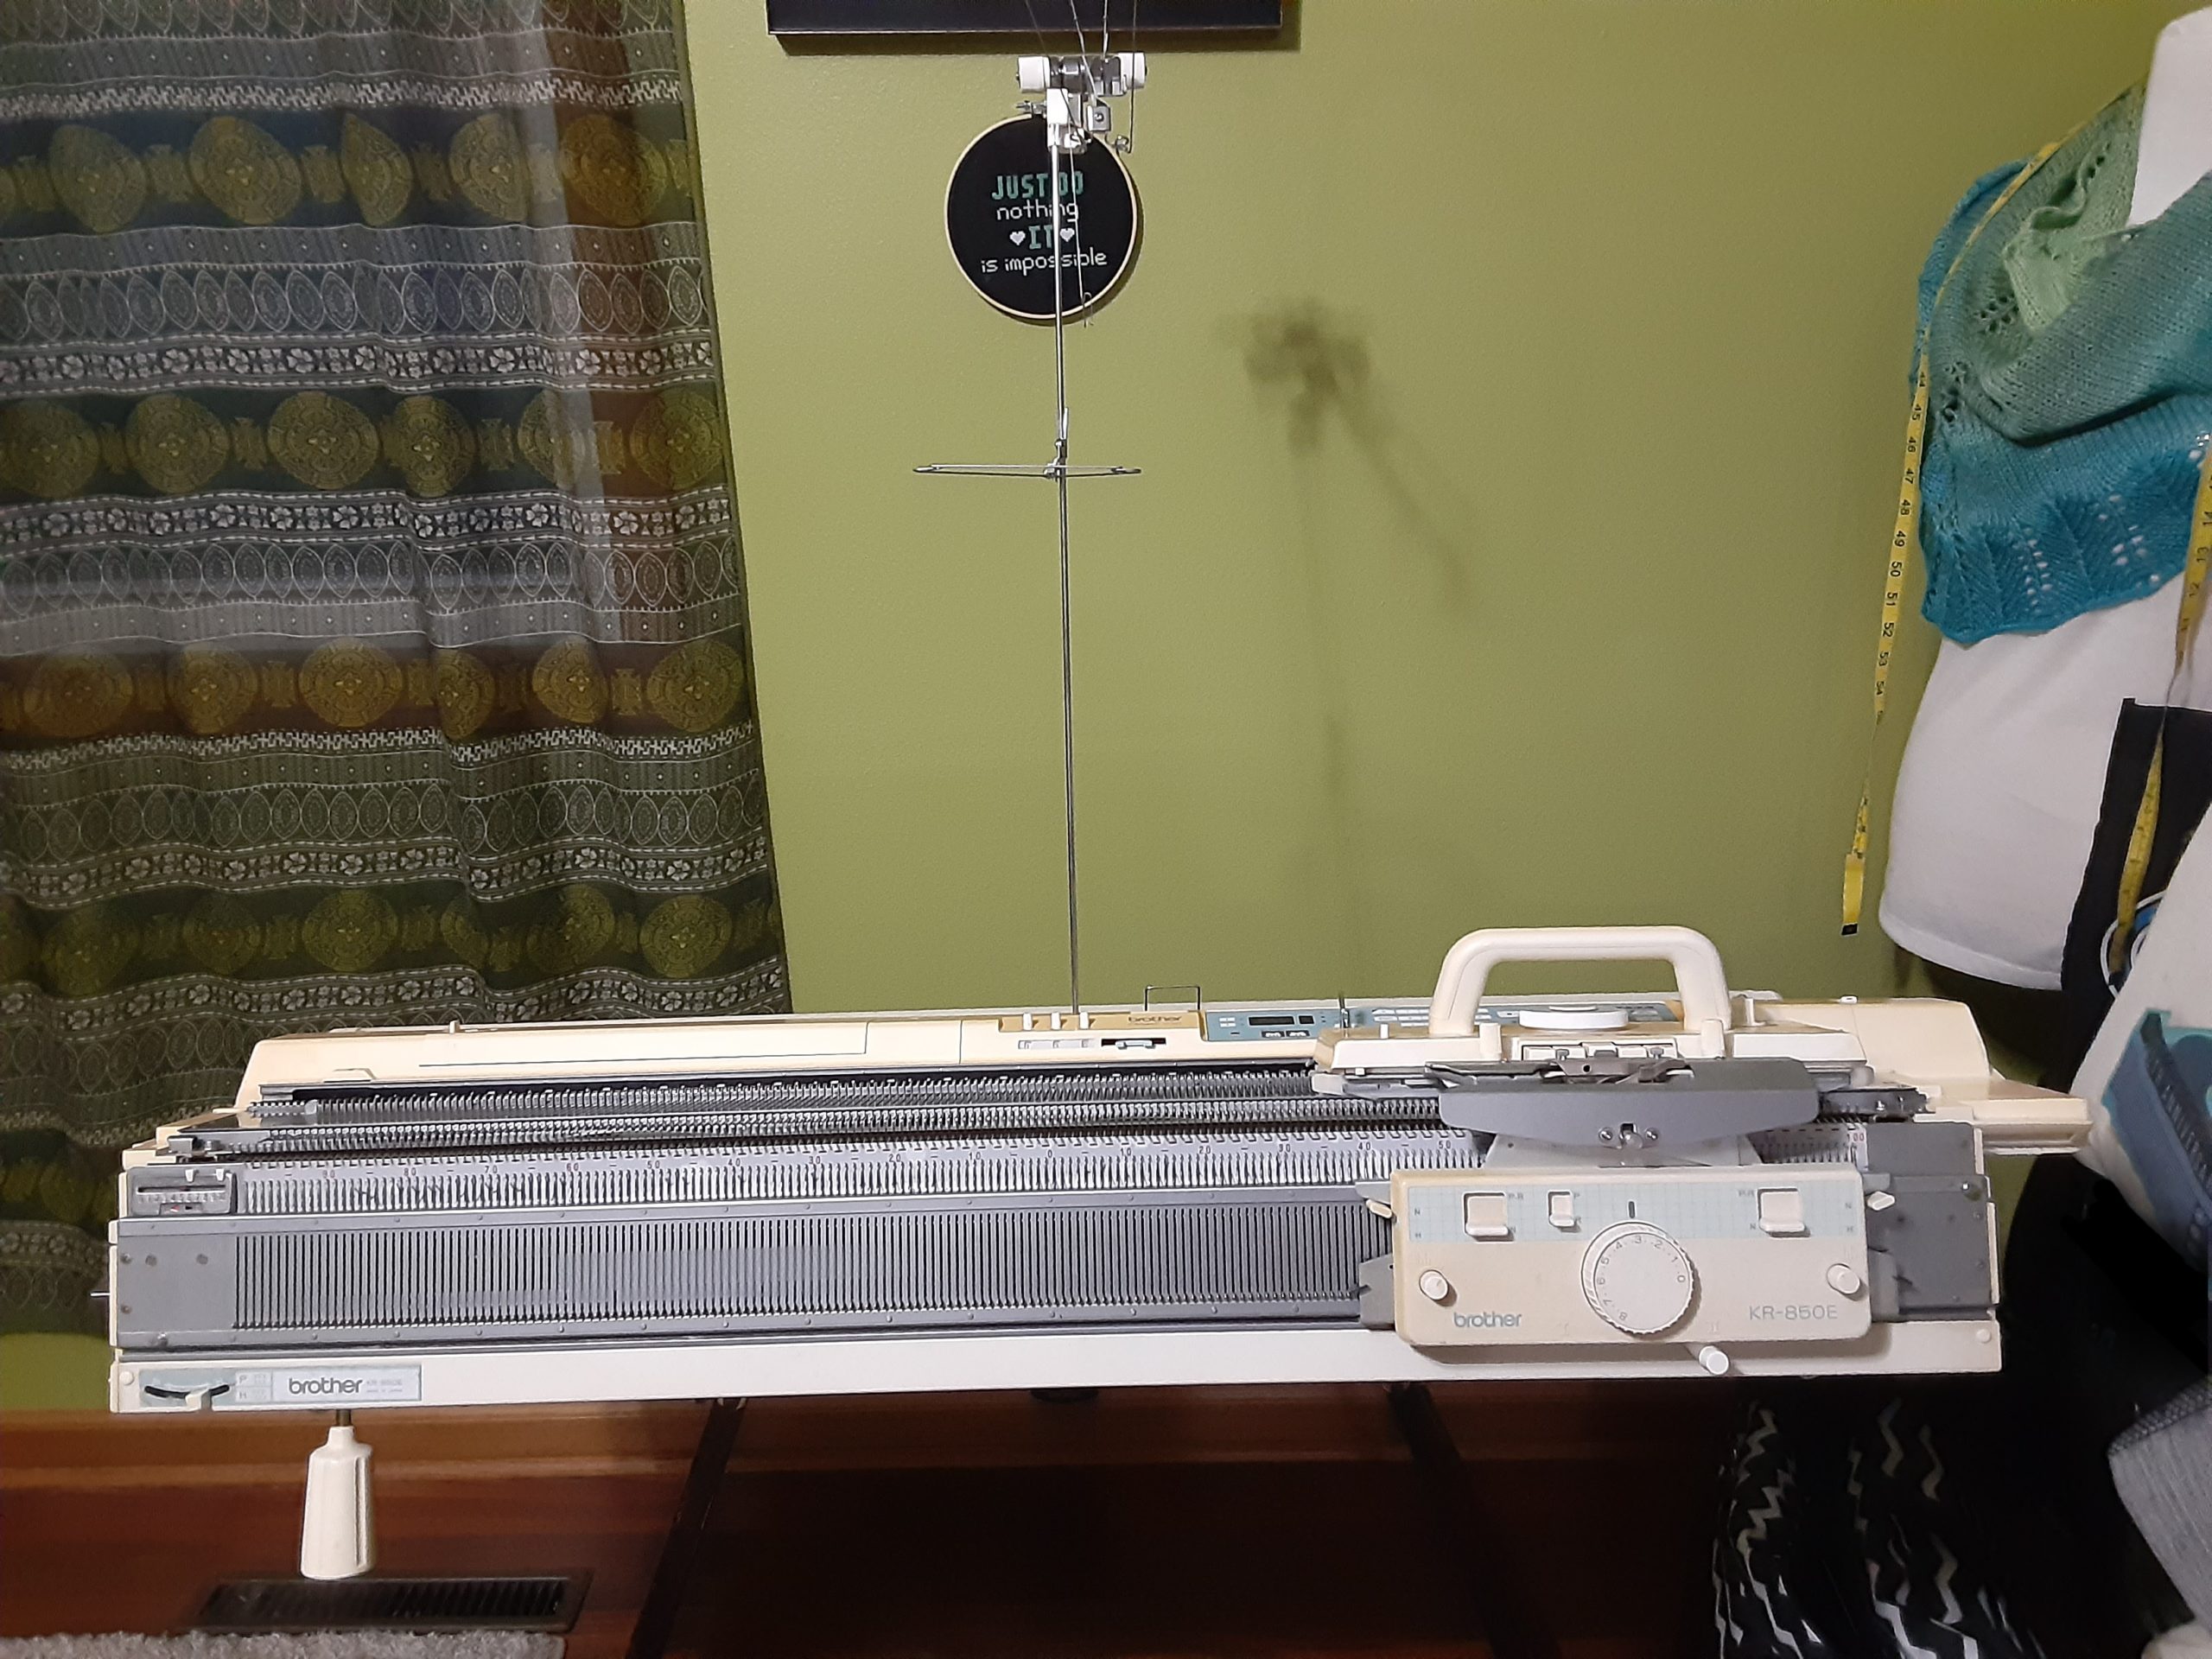
Hello New Friend
This weekend I got my dream knitting machine. It’s a brother kh930e with the ribber and color changer. My plan […]
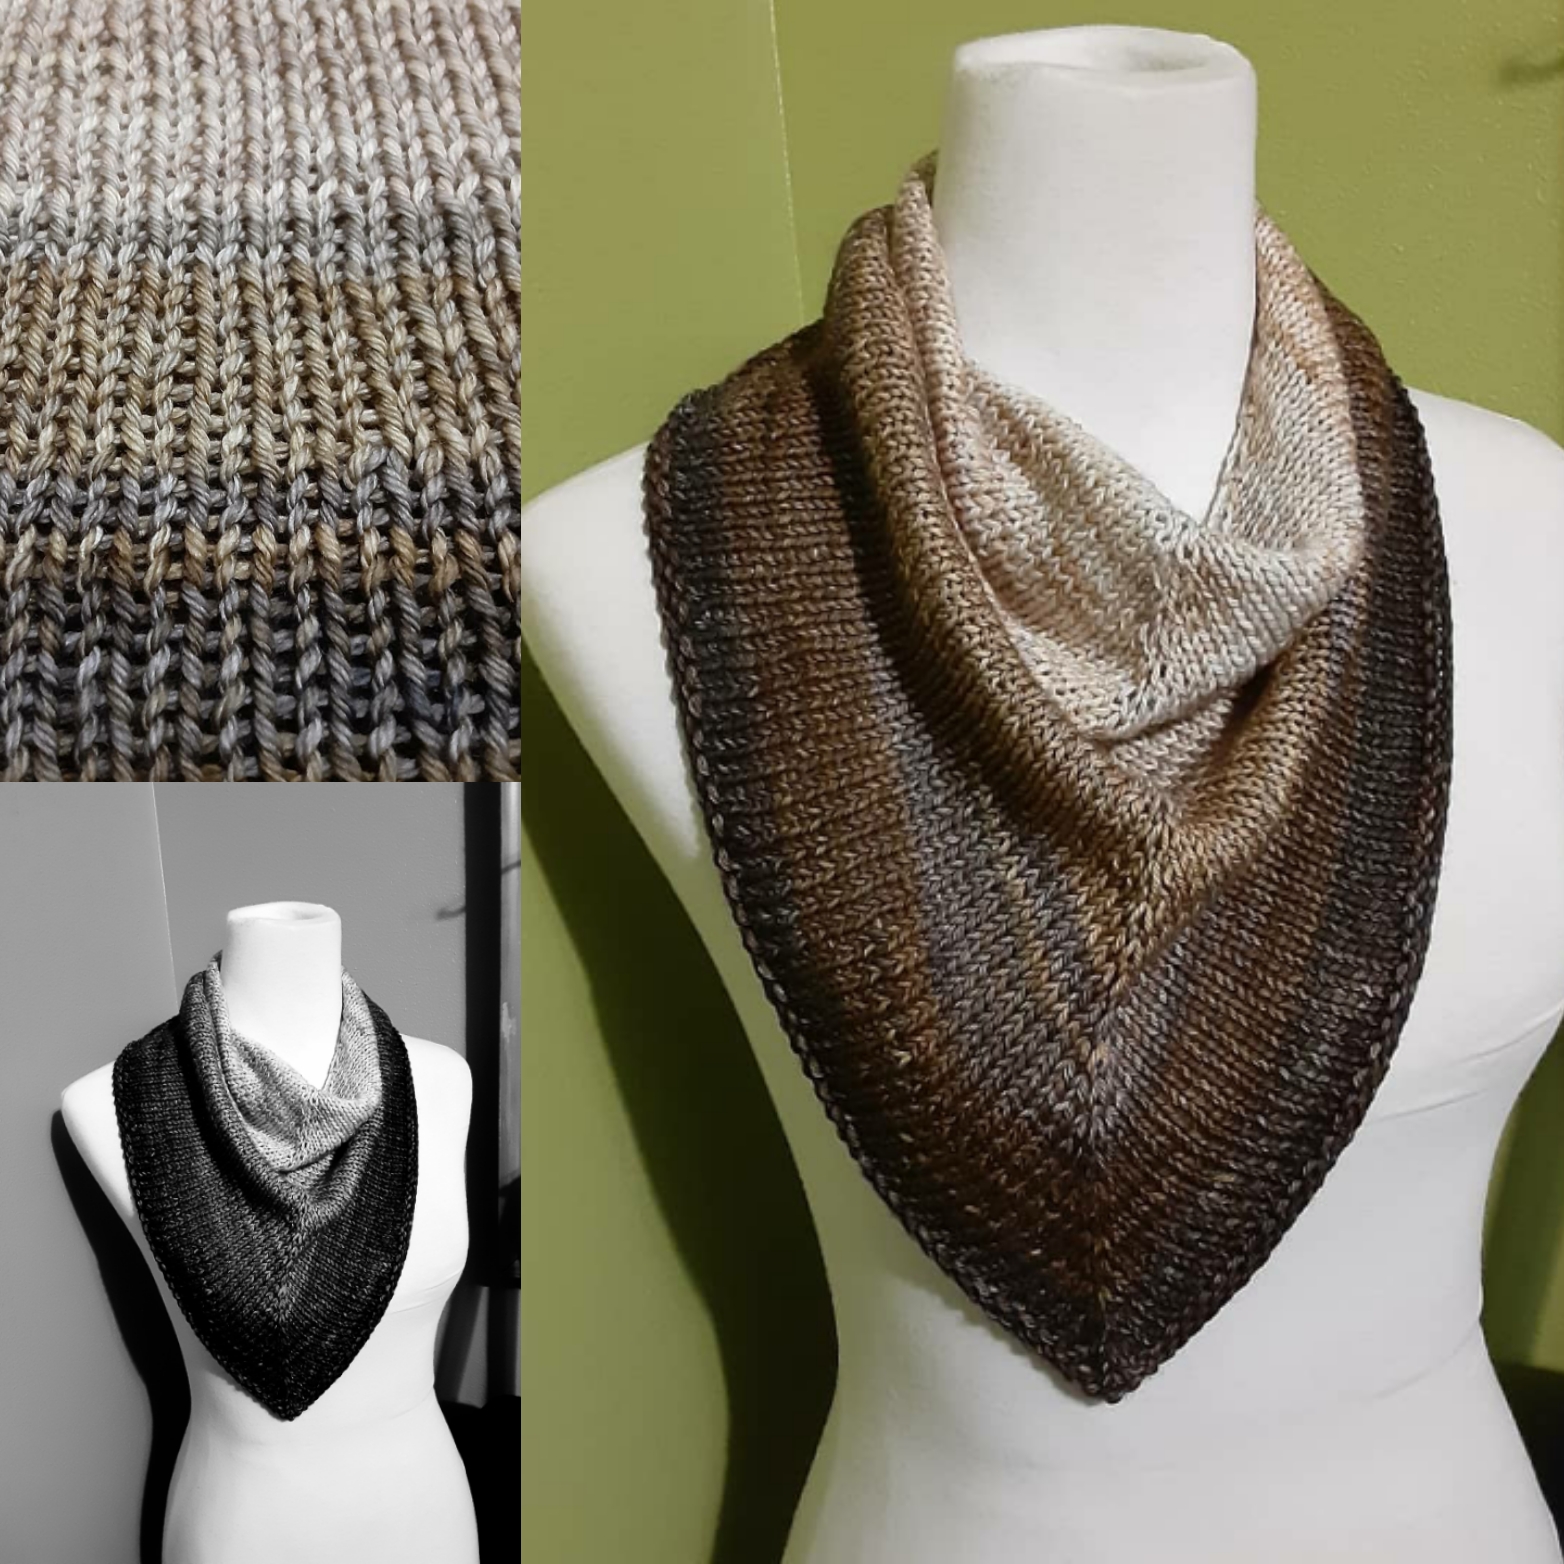
One Row Striped Triangle Cowl
Made in Tosh DK, the first project finished on my twitch stream. I used all but 1 yard of this […]
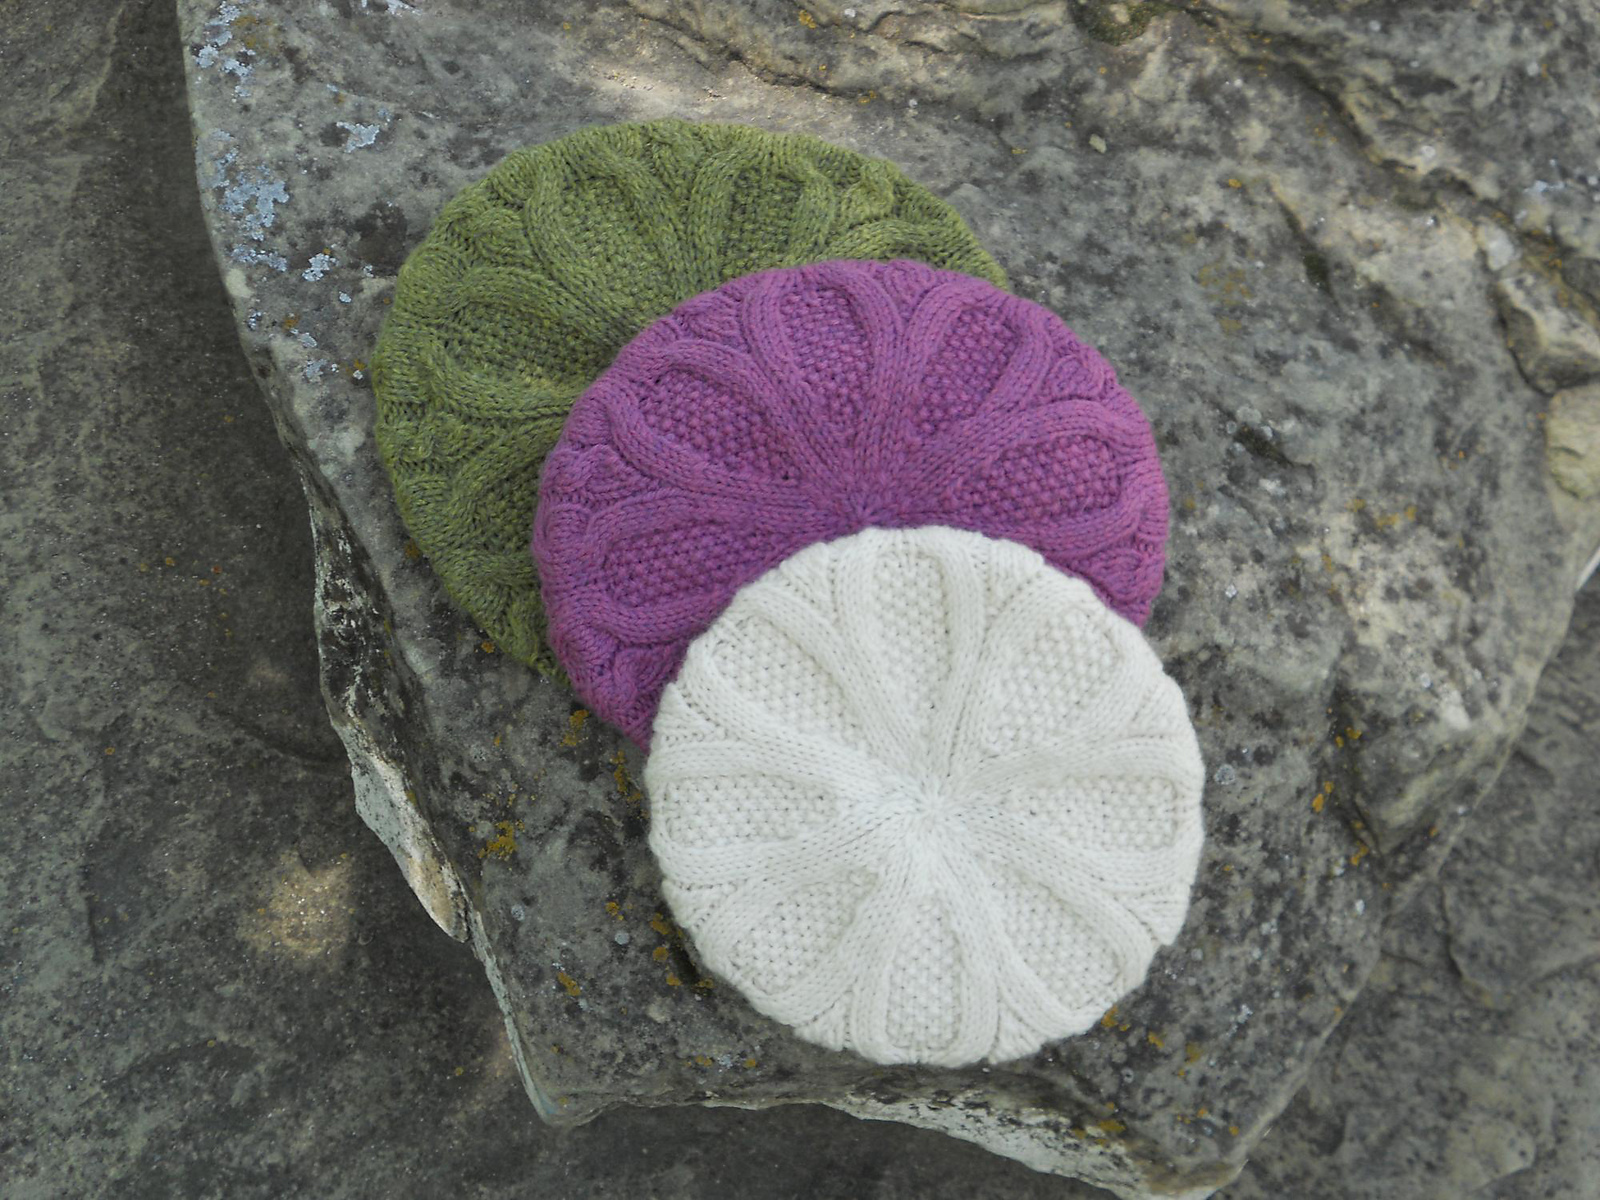
Brambles Beret
I love hats. Since learning to knit, I’ve become a collector. I recently noticed that I have tons of lace […]
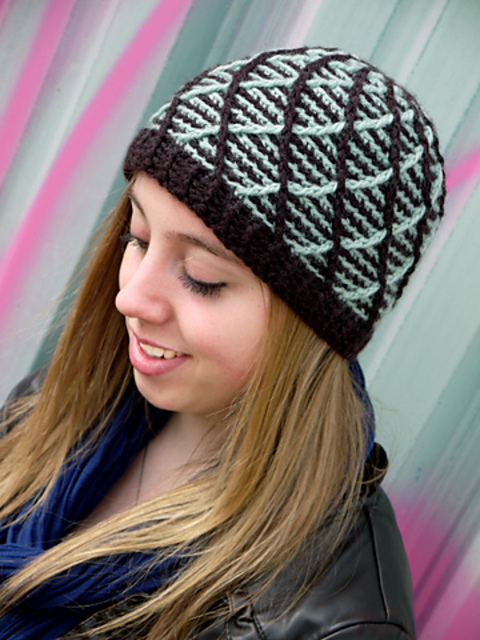
Mint Chocolate Beanie (Crochet)
I’ve always wanted to design a pair of fraternal twin hats. In this crochet twin, only one color is worked […]
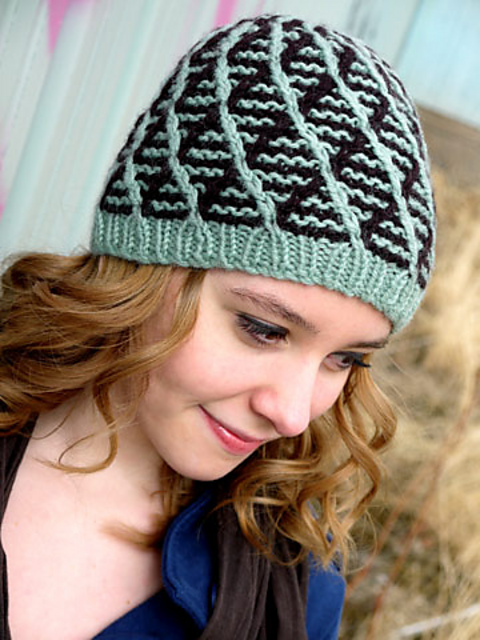
Mint Chocolate Beanie (Knit)
I’ve always wanted to design a pair of fraternal twin hats. In this knit twin, only one color is worked […]
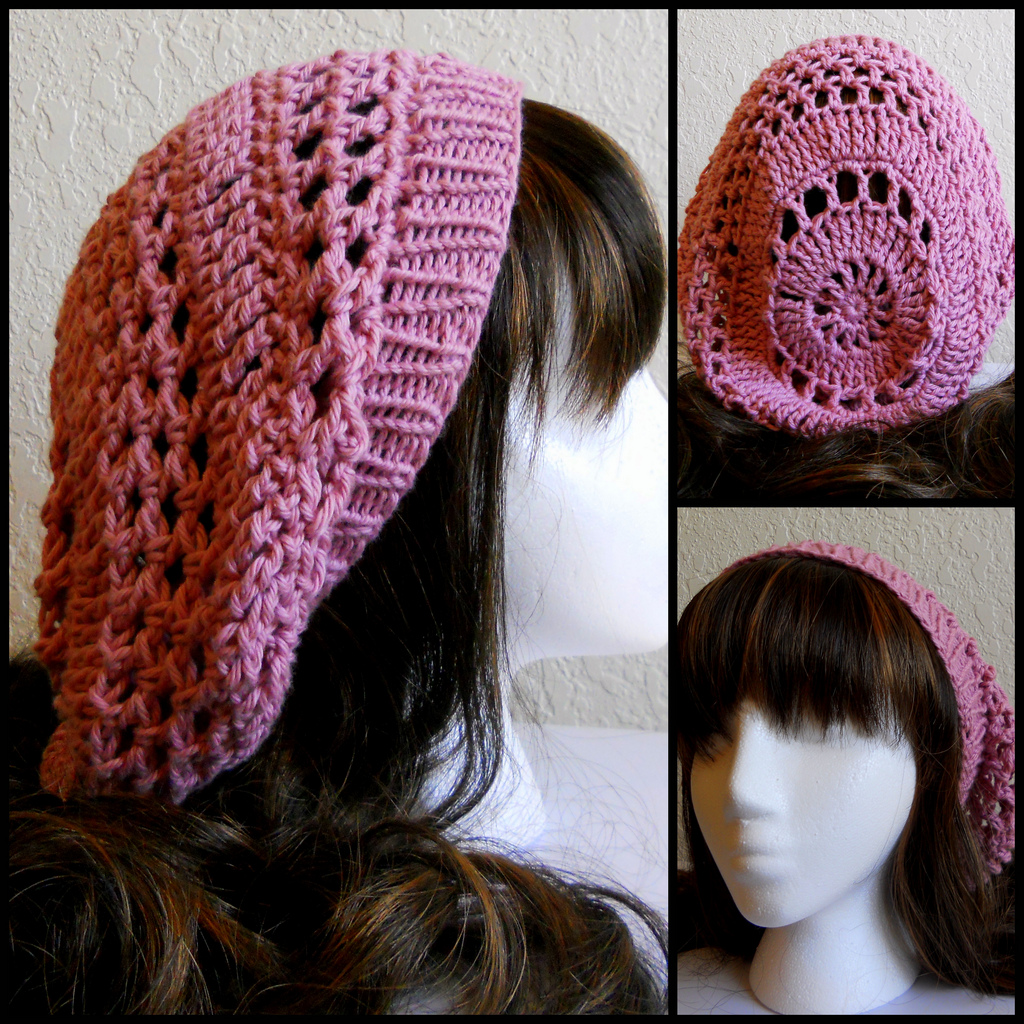
Combination Summer Hat
The knitted band is nice and stretchy to fit a range of head sizes while the crochet mesh slouches over […]
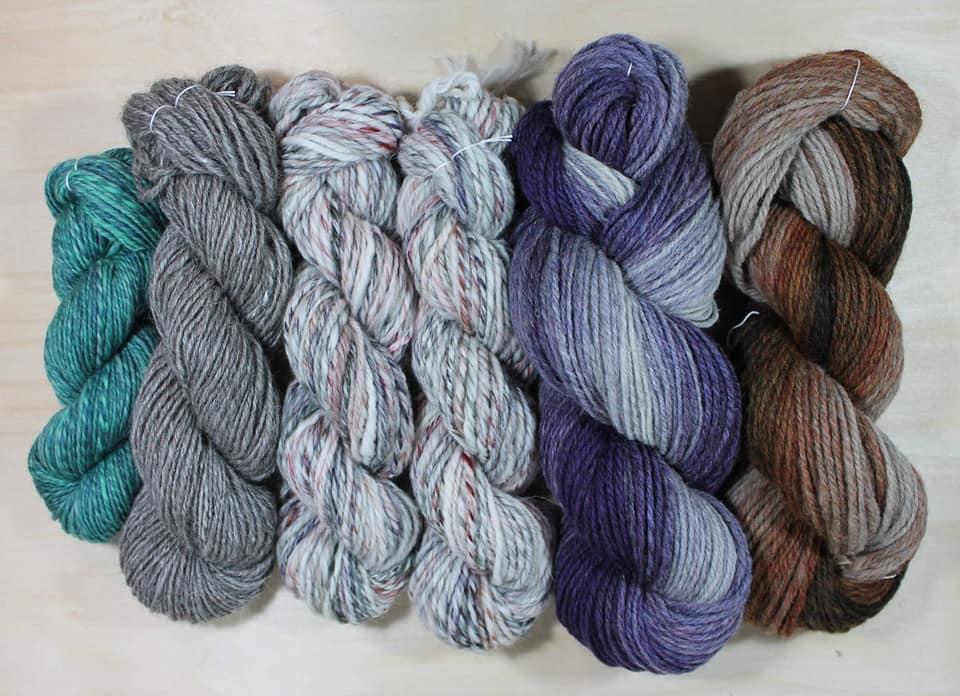
Spin Together 2020
This year I was a member of Team Goldieknots. And I entered this skein into the Most Beautiful Yarn Competition